Import and export
Written By Clayton Combe
Last updated About 2 months ago
Scenario is part of your larger workflow, which means you need to be able to bring information in and out of it. Our goal is to ensure that everything you import can be handled properly, and everything we export is the highest possible quality.
Export & import projects
Scenario projects contain diagrams, crew lists, and information about themselves. You may want to export a project to:
Send it to a colleague
Create a record of a certain version
Back it up for safety
Exporting or importing a project effectively creates a new copy. A project will not be shared or connected to anything unless that’s set up in the Scenario account.
Scenario exports in .sce format, which is specific to Scenario files.
To export a project:
Select the project in Scenario
Click the
Sharebutton in the upper right cornerClick the
Export ProjectbuttonChoose where to save the .sce file
To import projects:
Click the import button next to Projects
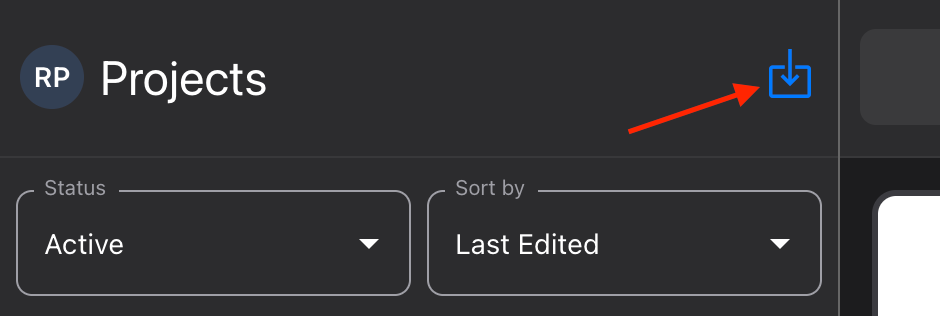
Choose up to 10 .sce files from the file picker
Confirm import; the new projects will appear in your list
To protect privacy, you can choose whether or not to export crew details with your project. When importing, you can only import crew details for projects you have exported.
Image options
Scenario handles different image file types in different ways, based on what they allow. We try to do as much as possible with vector images (mathematically-defined paths) because they’re resolution-independent; they look sharp at any scale, and take up much less file space. Sometimes, using raster images (made of pixels) is necessary, but they take up more disk space, and cannot be scaled without losing quality.
PDF - these can contain vector, raster, or a combination of both
SVG - vector-only format (the one that all Scenario items are created in)
PNG - raster format that allows transparency
JPG - raster format with no transparency
We highly recommend using vector formats whenever possible. This helps all your images stay sharp at any scale, print well, and sync to the cloud more quickly.
Import images to a diagram
Adding images to a diagram means you don’t have to build everything from scratch. It’s common to have existing floor plans, maps, and reference images.
Images can be imported from PDF, SVG, PNG, or JPG files
There is a 25mb file size limit on image formats, but images will be optimized for syncing, not stored at full size
See Markup, Text, Images for more options
Import custom items
Custom items (which behave like fixtures and allow you to upload your own images) accept SVG, PNG, and JPG images.
We recommend SVG for vector performance, faster sync, and changeable colors
See Custom Items for more info
Export from a diagram
To create documents from a diagram:
Open the diagram
Click the
Sharebutton in the top rightChoose to export Diagram Image, Shot List, or Patch List
For Diagram Image, choose the format you want to export: JPG, PNG, or PDF
Shot List and Patch List can export as PDF only
Export as JPG or PNG
Both formats are raster images
Scenario will attempt to render this at “actual size,” but for large diagrams, we down-res as needed to ensure the export can complete
Note: JPG images have much smaller file sizes than PNG, and are better suited for exporting on a mobile device
Export as PDF
PDF export is available to Starter and Pro users. See Scenario account for more info.
Maintains the source formats of each item, so vectors stay vector, and rasters stay raster
This means any raster images that are included may need to be down-rezzed to fit on larger diagrams (which is why we highly recommend using vector sources as much as possible)